Three incredible days on the African savannah.
Life Through Lynsey's Lens
A blog about travel, photography, and all the life in between
Life Through Lynsey's Lens
A blog about travel, photography, and all the life in between
A blog about travel, photography, and all the life in between
A blog about travel, photography, and all the life in between
African Adventure Part I: The Journey
Preparing for the trip of a lifetime.
Hello and happy new year! I apologize that I’m saying that nearly halfway into March but I’ve been a little bit busy galavanting across the world, and I’m about to make up for the lack of posts in a big way. One of my 2022 goals is to write more blog content and I have quite a few things planned, including a few trips from last year that I still haven’t written about. But I figure those can stay on hold a little while longer because I know you’ve all been anxiously waiting for this one!
Those of you that follow me on social media (and if you don’t, maybe you should) have probably noticed that I recently returned from an incredible adventure in Africa. Steven and I spent ten days exploring all over the south of Kenya, from the savannah of the Masai Mara to the jungles of Nakuru to the turquoise waters of coastal Mombasa, and I’d be remiss if I didn’t take to the keyboard to tell you all about it! I’m going to split this one into four (maybe five) different parts so that I can really get into all the details of this amazing trip. So if you haven’t subscribed to my blog to get email updates when I post new content, now might be a great time to do that!
Like a lot of countries, Kenya requires that U.S. citizens apply for a visa in order to visit for tourism. They have an eVisa system that’s really painless, simply go to https://evisa.go.ke, create an account, and complete the application. We got ours in about a day and a half, they just email you a PDF to print out and bring along. A few tips about the eVisa:
Here’s another visa (and passport) tip: don’t pay for passport photos. We used an app called Passport Photo – ID Photo App to take them ourselves for free, and there are plenty of other apps on the App Store that do it too. Phone cameras these days are great (better even than some digital cameras), and the app was cool because you just tell it what country you need the photo for and it automatically picks the dimensions, background color, etc. to fit that country’s requirements. It was super easy and saved us $25 each and a trip to Walgreens.
As with all tropical destinations, there are a few health-related things to take care of as well. While there aren’t any vaccine requirements (other than COVID, but I’ll get into that below), the CDC does make several recommendations, including a polio booster, a meningitis booster, a typhoid vaccination (either oral or shot), the yellow fever vaccination, and malaria pills. One important thing to note is that, while the yellow fever vaccine is technically optional, it is required if you plan to include Tanzania in your itinerary. My recommendation for travel to countries that are tropical and/or rural is to make an appointment at your local Passport Health clinic, where they will advise you on, as well as administer, the recommended vaccinations and hook you up with your malaria pill prescription.
Now, that’s the usual Kenya travel stuff. There’s also that whole global pandemic thing still going on, and that was the real thorn in our sides getting ready for this trip. I’m going to talk about my experience and the requirements that we had to follow when we traveled on January 14, 2022, so keep in mind that these are changing all the time. (Or maybe you’re reading this from the future and that whole COVID-19 thing is behind us!)
The best place to check for the latest requirements is the U.S. Embassy’s page on COVID-19, and check it frequently up until you travel in case there are changes. When we were preparing everything for our trip, the testing timeline changed just before we left, down from 96 hours before departure to 72 hours.
The requirements when we went to Kenya in January of 2022 were:
You’ll want to have all three of these documents handy in your carry-on, because they were checked as we got off the jet bridge into the airport, before going through customs and immigration. They also took our temperature, and people were being randomly selected to take a rapid test on arrival. If any of these requirements were not met or you happened to have a fever or test positive, you would be placed in 10-day government-mandated quarantine. So yeah, it was a little stressful.
If you’re anything like me, you have a question about that second bullet point: “departure from my home airport, or departure to Nairobi?” I’m going to leave that one on a cliff hanger for now and let you read on.
Our story begins at Tucson International Airport way too early in the morning, but we were wide awake and buzzing with excitement. It felt pretty surreal to be sitting there at the airport ready to make this journey—we had originally booked the trip in early 2020 (in the “before times”) and have had to re-plan and re-schedule three or four times. Here’s where I give a shoutout to Delta for their flexibility, because the whole thing was about as painless as it could have been.

The first leg of the journey was a quick hop to Salt Lake City. Not much to say about that one, as we both fell asleep on the tarmac and woke up when the pilot announced our descent into SLC (okay, I lied about the “wide awake” part). Thankful to still be enjoying the perks of my twice-extended 2020 Platinum Medallion status, we spent our five and a half hour layover in the Delta Sky Club until it was time to catch our connection to Amsterdam. With a 2 hour flight, 6 hour layover, 11 hour flight, 4 hour layover, and finally another 9 hour flight, it took over 24 hours to get to Nairobi, which accounts for about two full days of travel once you factor in the time changes. We left Tucson before dawn on Friday and arrived at our hotel in Nairobi just before midnight on Saturday night.

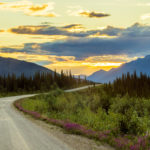
Other than being insanely long, the flight to Amsterdam was smooth and uneventful. We were upgraded to Comfort+ and the few extra inches of legroom were very welcome. The highlight, in my opinion, was the awesome Northern Lights show we got as we flew over Greenland. Here’s one of my biggest travel tips: always look out the window on polar flights! I feel like nobody else on the plane even noticed. You should also always try to sit on the left side of the plane when flying from the U.S. to Europe so that you’re facing North—we actually weren’t this time but the aurora was still going nuts looking South, which means it was even better on the other side of the plane. But I digress.

Once we landed in Amsterdam things started to get a bit rockier. An issue with our ticket kept us from checking in for our flight to Nairobi (we found out later that one of our several flight changes moved us from Air France to KLM and messed some stuff up in the system) so we spent the majority of our four hour layover getting that straightened out. Which leads me to another travel tip: long layovers are good when you’re traveling internationally and on partner airlines. It’s always better to sit in the airport with nothing to do for a few hours (or, better yet, explore the airport—you’re in a different country, enjoy it!) than to miss your connection because of an issue with ticketing, customs, immigration, etc. There are a lot of things that can go wrong when traveling internationally, and, although they’re usually easy to fix, missing a connection often means waiting a full 24 hours to get on the next flight because a lot of those long-haul legs only fly once a day. That happened to me on the way to Chile a few years ago and it was a huge pain. (I will definitely blog about that story some day, because it’s a good one.)

So anyway, remember up above when I left you hanging regarding the COVID testing requirements? Does “within 72 hours of departure” mean from Tucson or from Amsterdam? The answer is: nobody seems to know. The Delta agent at check-in in Tucson (who is the one responsible for ensuring that all of your documents are in order for the whole journey) interpreted it as the former and said we were good to go. Unfortunately, the KLM agent in Amsterdam interpreted it to be the latter and informed us that we wouldn’t be able to board the plane. Well, dang. (And if you’re reading this thinking, “why didn’t you just get the test done within the stricter window?” we definitely tried, but had to take the latest appointment we could.)
Thankfully, we were able to convince them to let us on the flight. All’s well that ends well, I guess. And for what it’s worth, the agent in Kenya didn’t give it a second look.
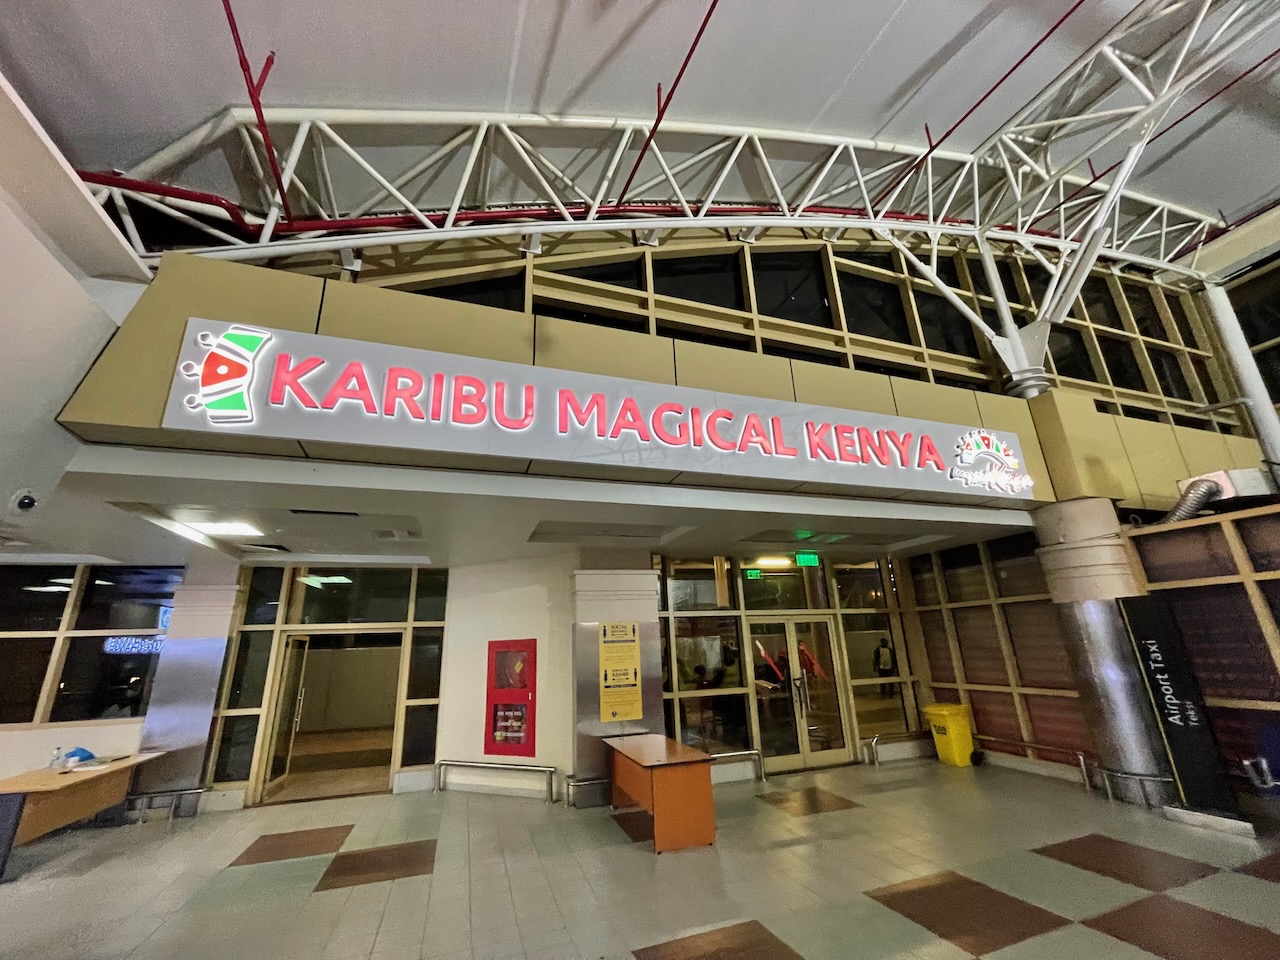
Getting through immigration was slow with all of the extra COVID checks going on, so if you’re planning to connect from Nairobi keep that in mind—there were quite a few worried travelers trying to get through in time to catch a flight to Mombasa. One nice feature of Nairobi immigration is a SkyTeam Sky Priority lane, so if you’re a fellow Delta frequent flyer you’ll get to skip the long line at passport control. Other than the wait to get our vaccine card checked, immigration and customs were a breeze and we headed out of the airport to catch our hotel shuttle.
One last piece of advice: I would recommend getting Kenyan Shillings before leaving the Nairobi airport, either from the ATM (my preference) or the currency exchange desk (use this as a last resort, the rates are not great). Like many countries outside the U.S., ATMs aren’t very common outside of banks (so don’t expect to find one in the hotel lobby). Cash is used very heavily in Kenya so you’ll want to be prepared with plenty of it before embarking on safari.
We stayed at the Four Points by the airport and would definitely recommend it if you’re looking for a place to crash after the long flight.


The next morning we were up bright and early to enjoy a fantastic hotel breakfast (and the best latte I’ve ever had—Kenya’s espresso was so good) before our guide picked us up at 6:30 am to hit the road for our safari!
To be continued….